Introduction
Before you sell any Frames, they should be added into Inventory. You should Use Master Online Catalogue to Quickly Add Frames in Inventory . But you can also add, edit or delete them one by one also and this article guides you how.
Accessing Frames Section
Select the
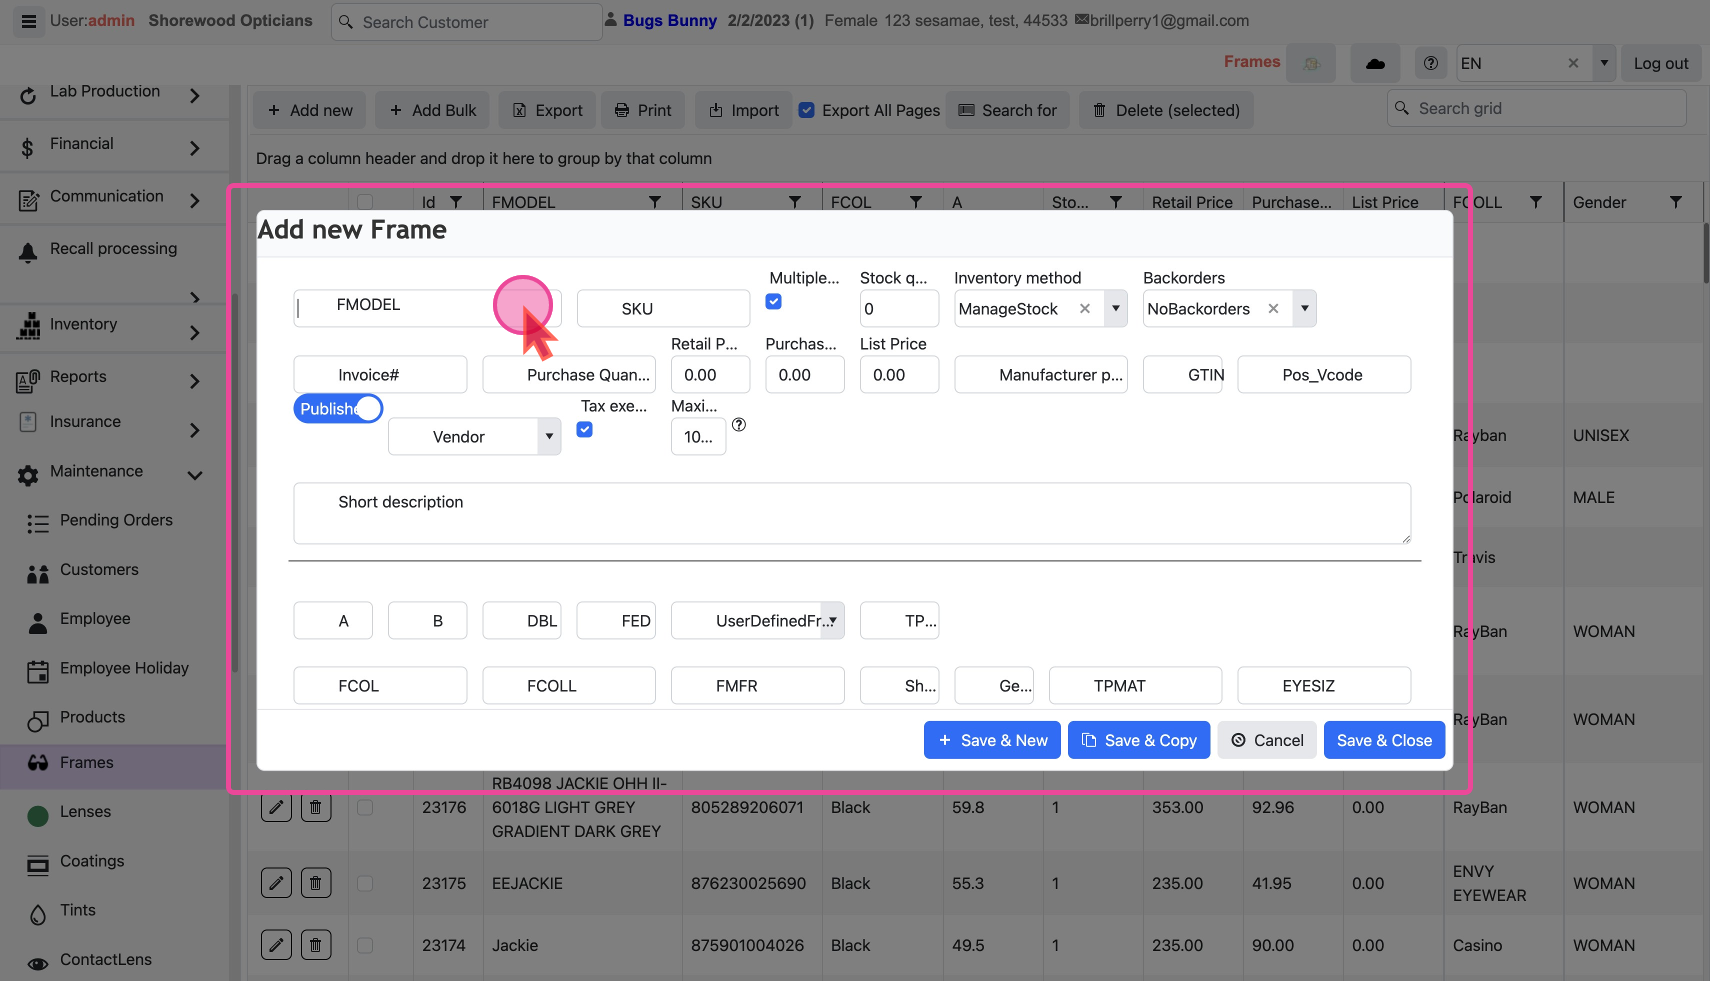
Maintenance tab in the left Navigation Menu and then select the Frames tab. This will open a page that shows a list of all frames. On the top, there is an action toolbar with the Buttons Add New, Export Import, etc. Learn about Action Toolbar Bar in General.Add Frame Details
Basic
- Enter the
product name. This is the only Required Field
- Leave the
SKUfield blank and the system will auto-assign one.
Prices
- Set the retail price of the item in the
Retail pricefield. This is the price you sell at and is available at the Checkout
- Enter the wholesale cost in
Purchase Pricefield, to track your profit margins.
- Select the Vendor who is supplying the Product
Stocks
- Specify the quantity in stock and other inventory functions.
- Maximum quantity available in one order to the customer.
- Select Inventory Method
DontManageStockorManageStock
See How are Stock levels in inventory computed? to learn more about these.
Taxes
- Uncheck the
Tax exemptexemption checkbox if there are Taxes applicable
- Then select the appropriate
Tax category
Box Measurements
- Add the Box Measurements like
A,B,DBL,FED,TPSIZ
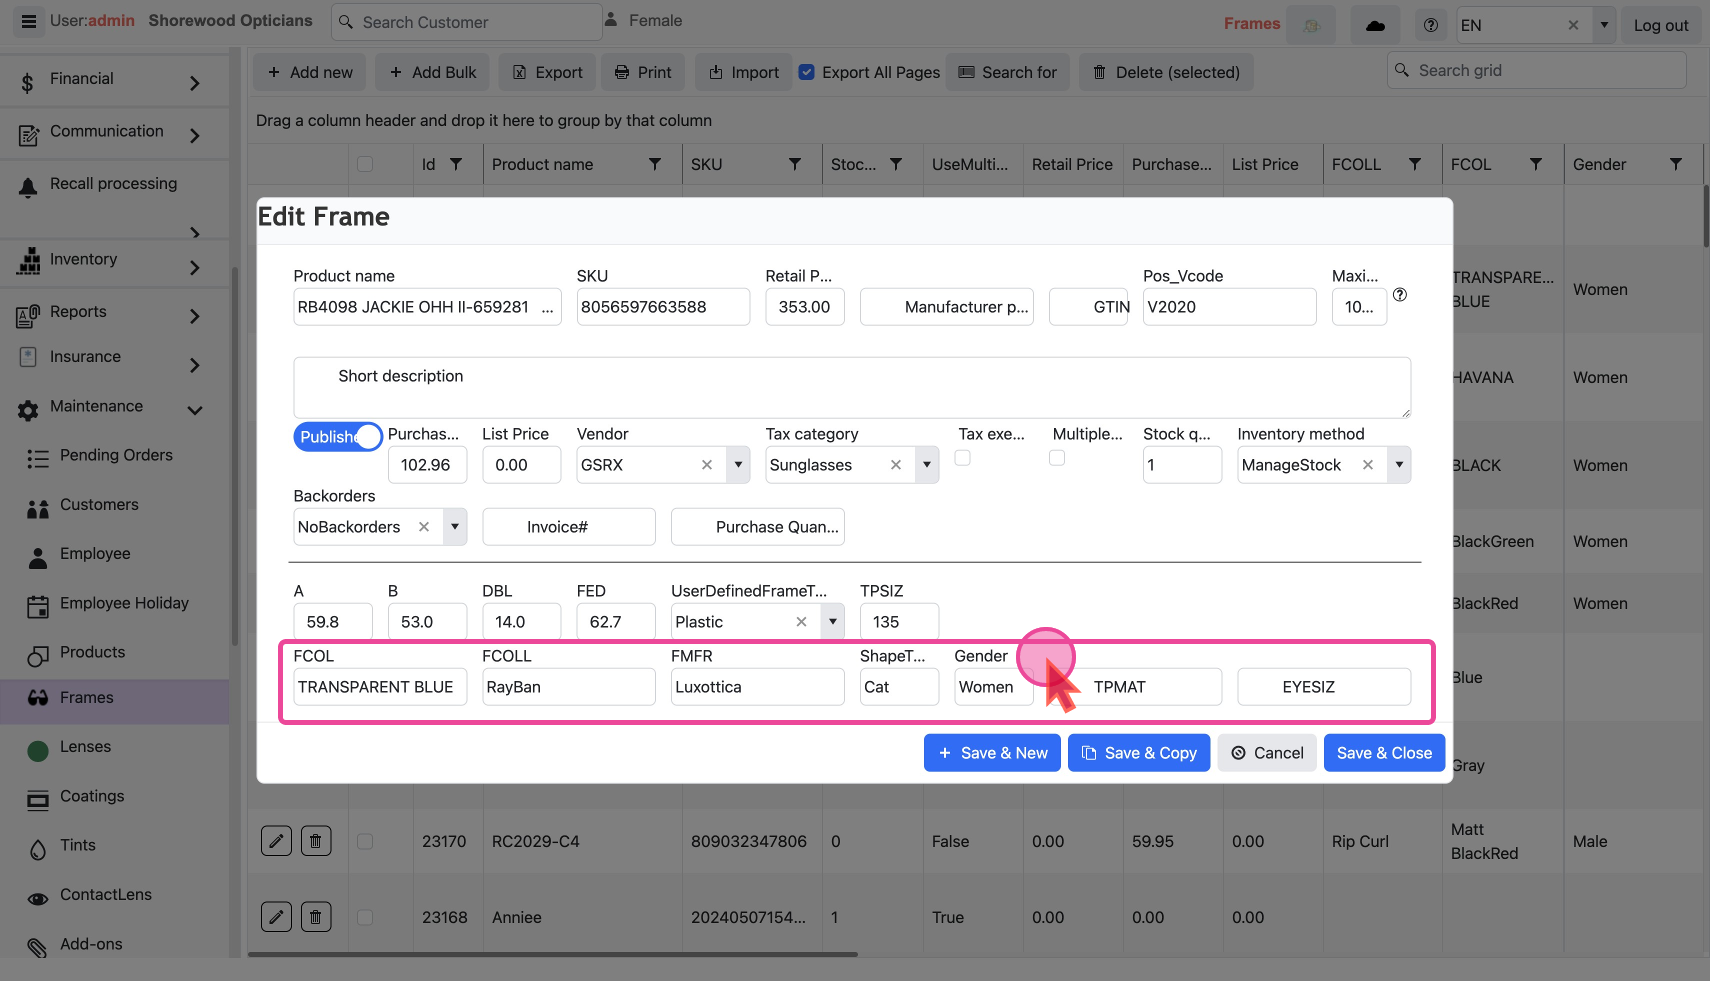
- Add specific frame information
FCOL- Frame colorFCOLL- Frame collectionFMFR- Frame manufacturerShapeType- cat, oval, square, etcGender- Unisex / Male / FemaleMaterial- Titanium, Plastic, Stainless Steel, Nickel, etc.Eye Size- 52, 56, etc
Publish to Checkout Screen
Only published items are visible in Products at checkout. By default, an item is set as
Published to make it visible.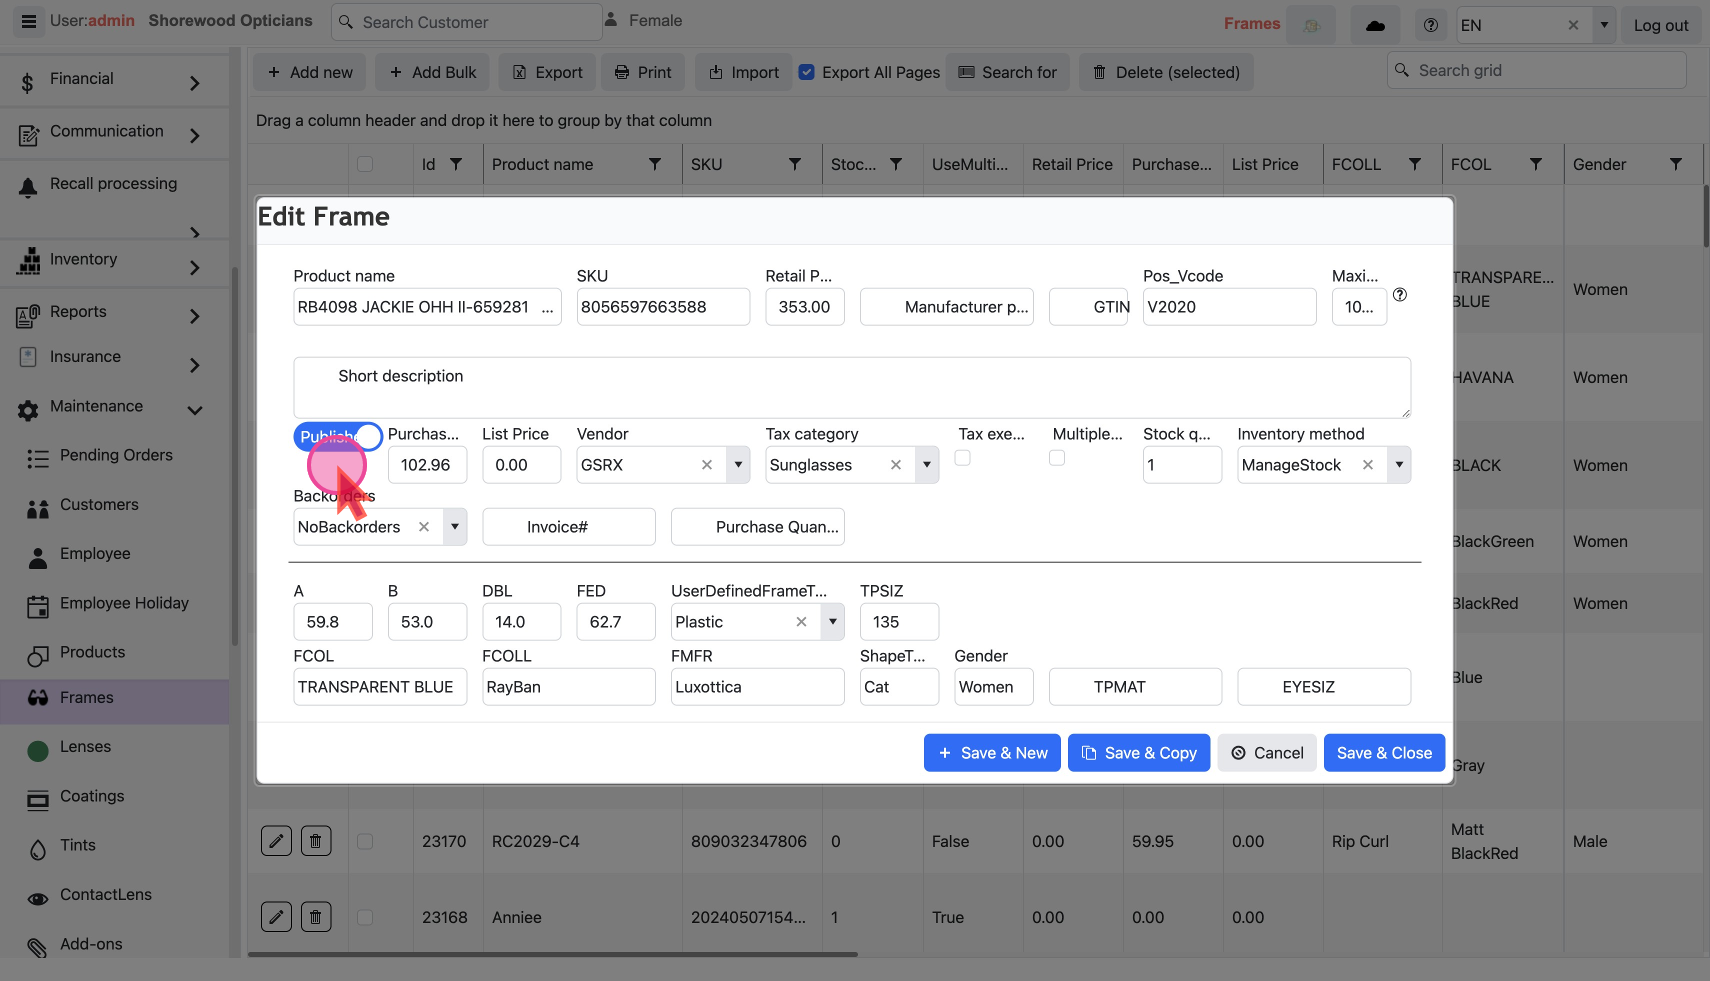
- To make an item visible at checkout, set the item as
Published
- Remove from checkout by un-publishing it.
Save and Continue
As Frames are going to be Items that are most frequently added and edited, there are Save options
- Save & New - Save the current Record and Start a New Record
- Save & Copy - Save the current Record and Copy the data
- Save & Close
Modify a Frame
The
Pencil Icon and Trash Icon on each line are used to edit or delete that record.
Edit Frame Details
Click the
Pencil Icon to show a pop-up with a form filled with the existing details.
Change as desired and save. Delete a Frame
Click the
Trash Icon to show a confirmation pop-up.
Click ok to delete.As Frames are going to be Items that are most frequently added and edited, there are multiple options available for fast data entry