Introduction
Add specialized Lens coatings such as anti-reflective (AR) and mirror coatings to your inventory. Learn how to add, edit or delete them one by one.
Accessing Coatings section
Select the
Maintenance tab in the left Navigation Menu and then select the Coatings tab. This will open a page that shows a list of all coatings. On the top, there is an action toolbar with the Buttons Add New, Export Import, etc. Learn about Action Toolbar Bar in General. Add a Coating
Click on the
+Add Action Button in the Action Bar.
This will show a pop-up with the form to fill up. It’s an open-ended form where you can add anything that you wish. 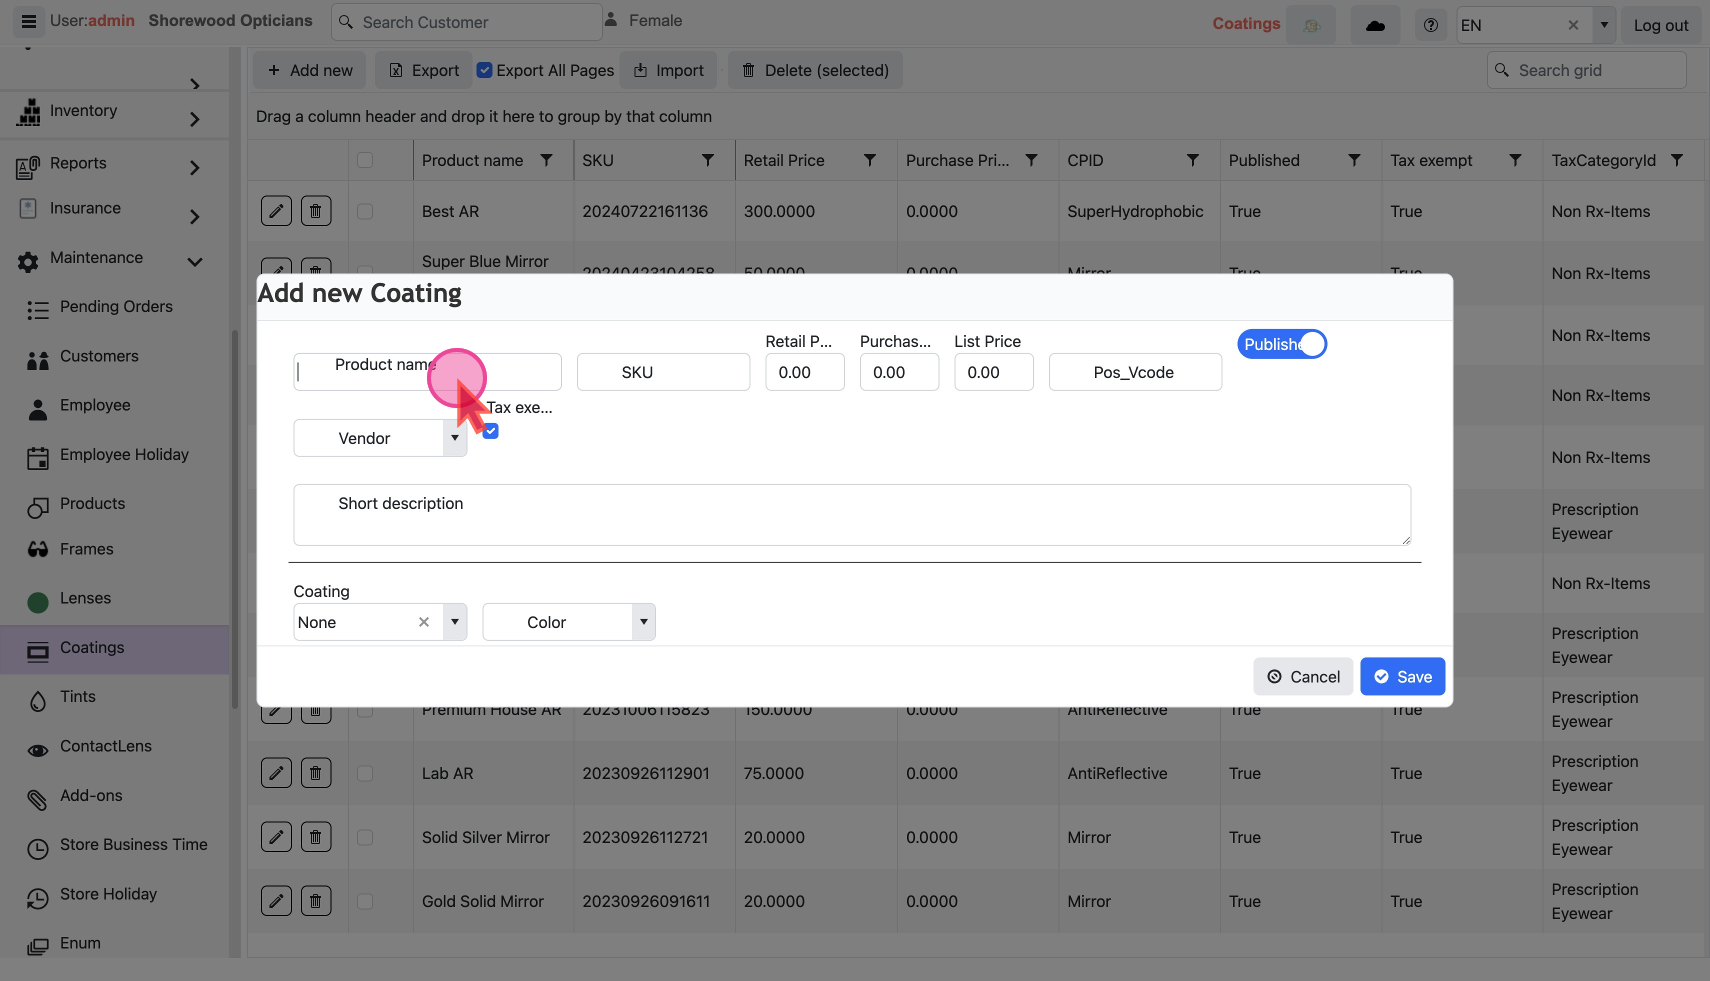
Basic
- Enter the
product name. This is the only Required Field
- Leave the
SKUfield blank and the system will auto-assign one.
Prices
Retail Price- that shows on the POS
Purchase Price- what it costs you
List Price
TaxExempt-Mark if the item is tax-exempt
Coatings Details
Coating Type: Select the coating type e.g. Mirror, Anti Reflective, etc.
Coating Color: Select color if applicable to the type of coating.
Publish to the Checkout Screen
Only published items are visible in Products at checkout. By default, an item is set as
Published to make it visible.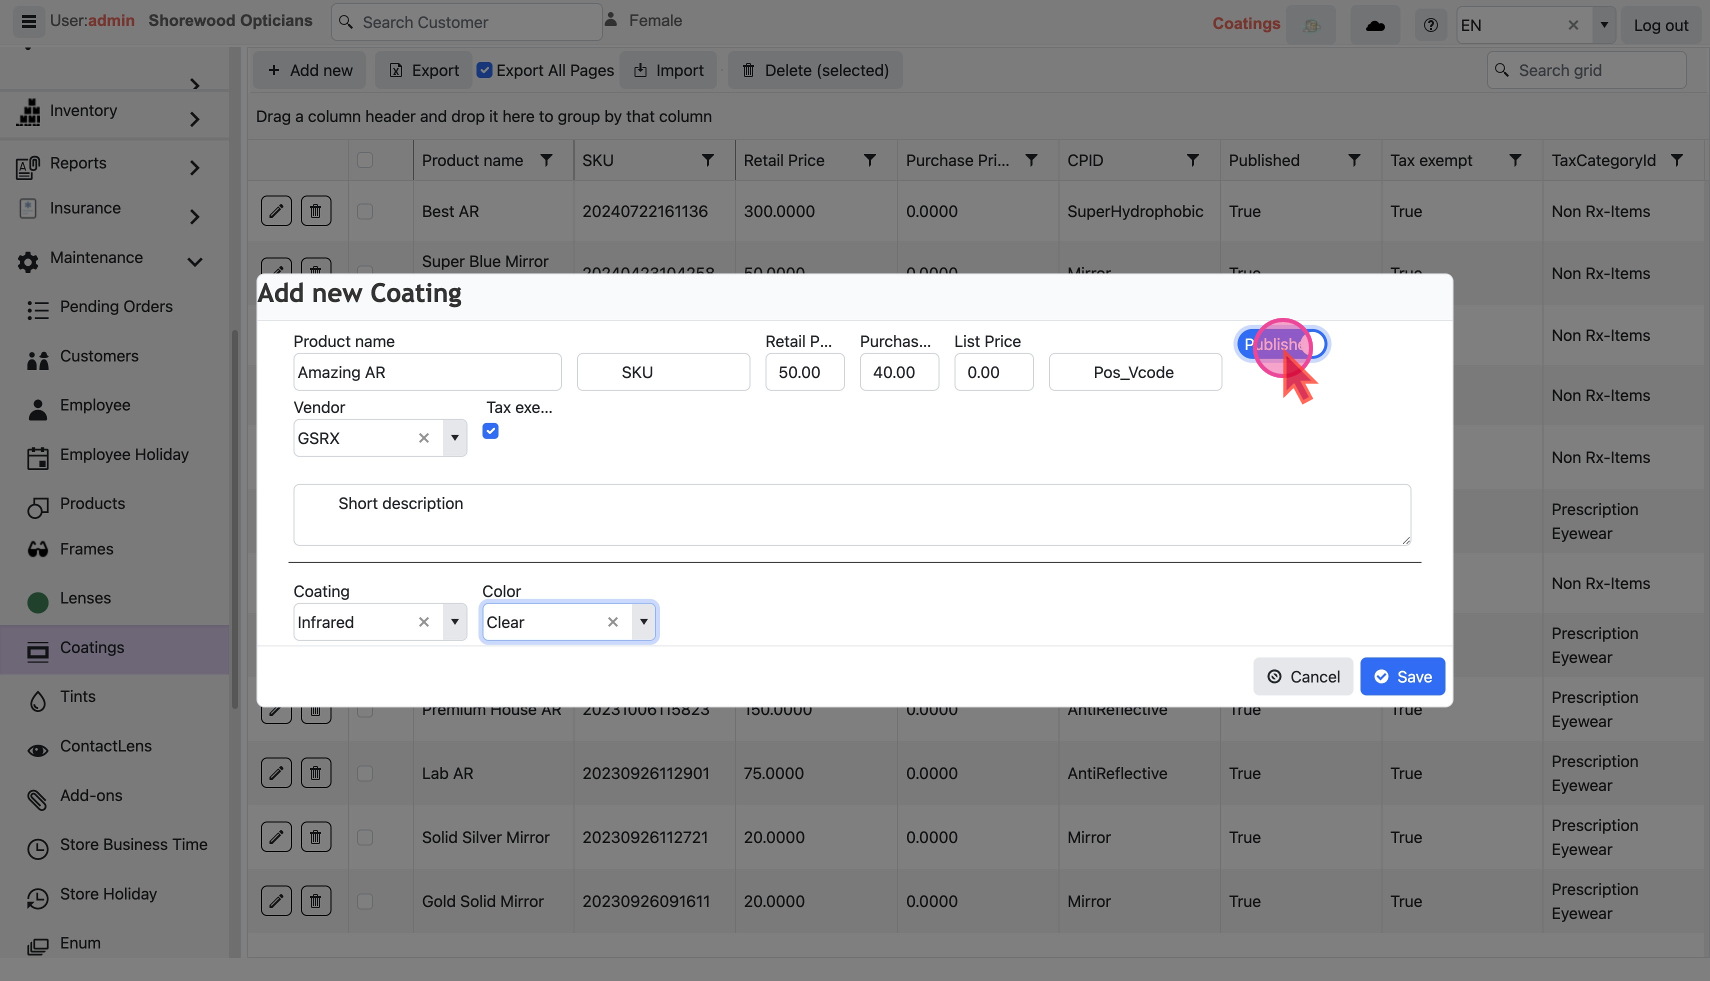
- Set the item as
Publishedto make it visible at checkout.
- Finally hit the
savebutton to add this to your inventory.
- Refresh the page to see the changes in the Data Grid.
Modify a Coating
The
Pencil Icon and Trash Icon on each line are used to edit or delete that record.
Edit Coating Details
Click the
Pencil Icon to show a pop-up with a form filled with the existing details.
Change as desired and save. Delete a Coating
Click the
Trash Icon to show a confirmation pop-up.
Click ok to delete.You can do mass changes by export/import