Learn how to add, edit or delete vendors for labs, frames and other products.
Introduction
You do business with Labs, Frame, and other product Vendors and they need to be added in and managed in the SpexMan system.
Learn how to add, edit, and remove vendors.
Access Vendors Section
Select the Maintenance tab in the left Navigation Menu and then select the Vendors tab.
This will open a page that shows a list of all vendors. On the top, there is an action toolbar with the Buttons Add New, ExportImport, etc. Learn about Action Toolbar Bar in General.
Add Vendor Details
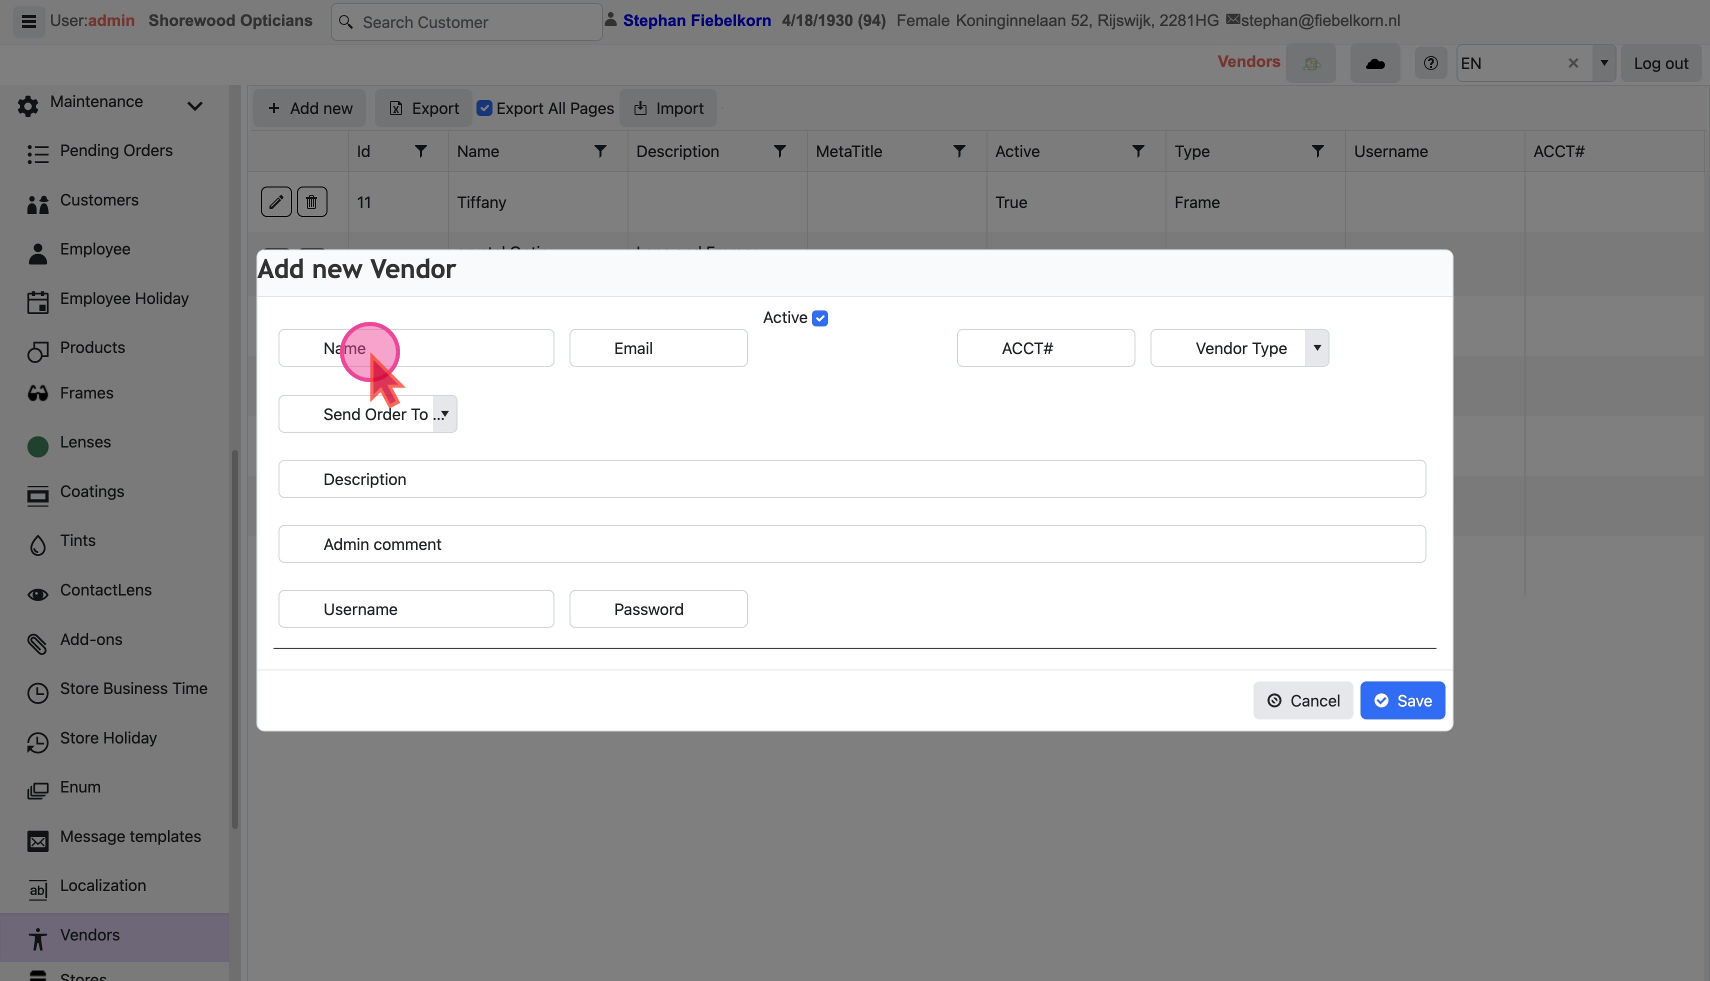
Click on the +Add Action Button in the Action Bar.
This will show a pop-up with a form to fill up.
Basic
Name & Email: Type in a Name and email to identify the Vendor.
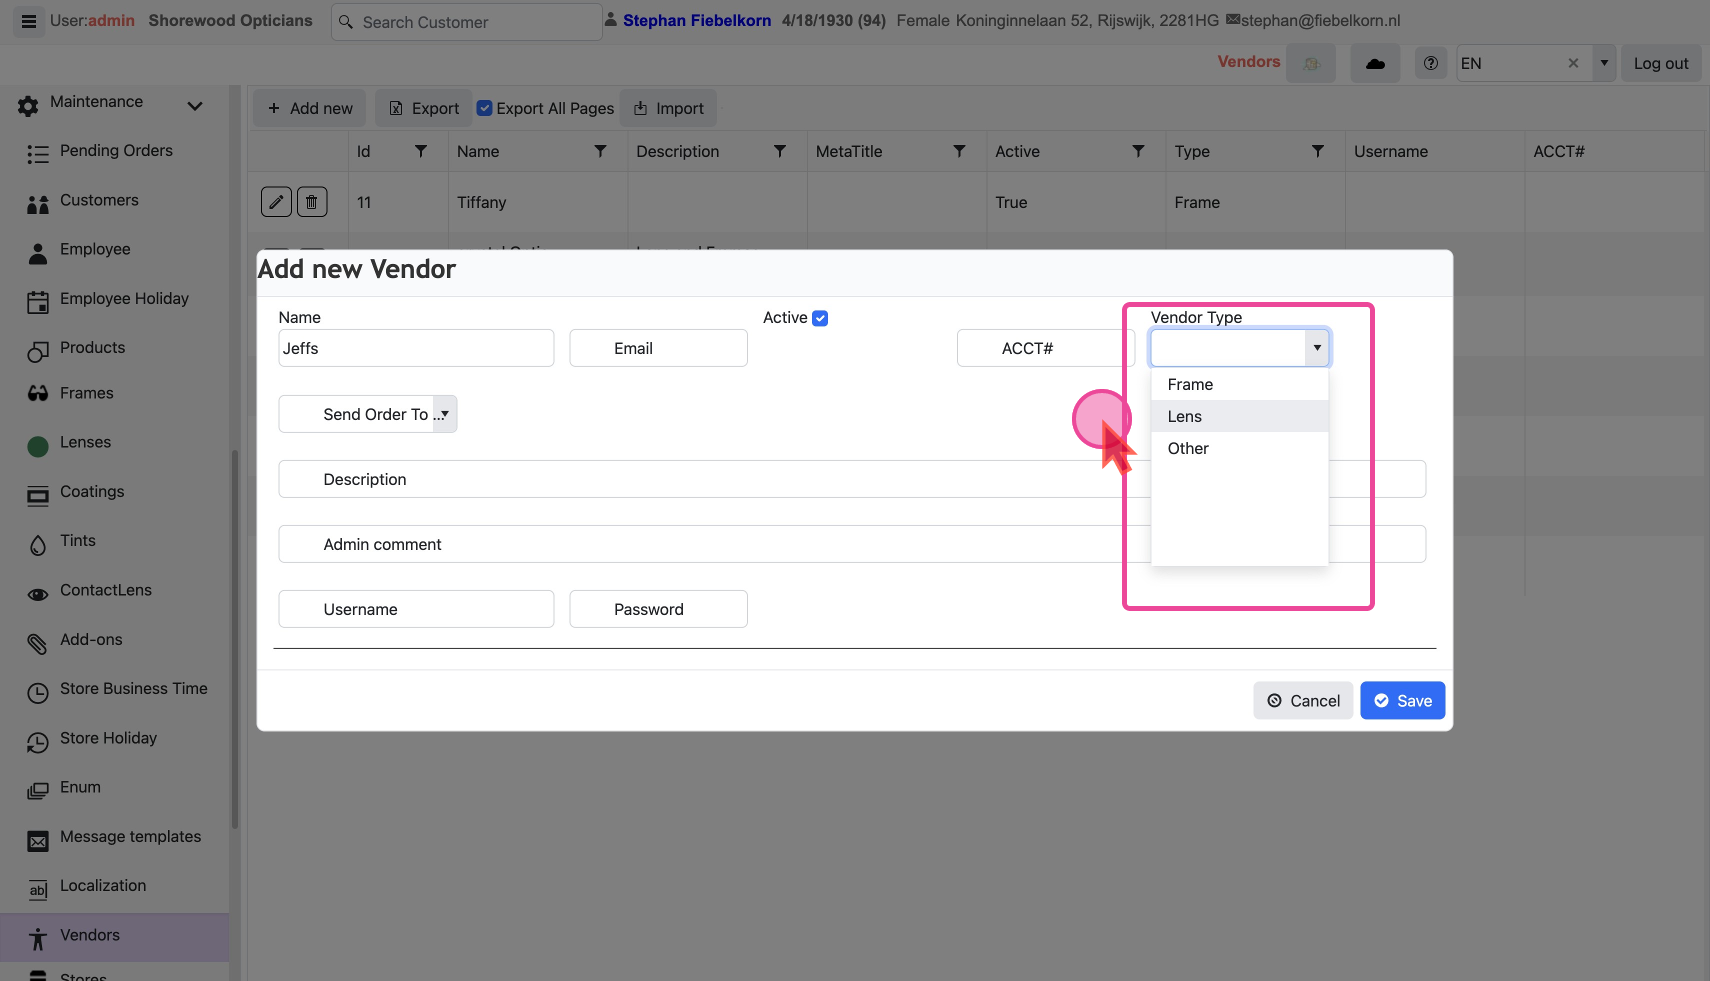
Select the Type of Vendor - Lab, Frame, or other
Depending on the vendor choose a Vendor Type.
For the Labs that you do business with, select the Vendor type Lens. Then select Where to Send order to
For Frame Vendors select vendor type as Frame.
For all other Vendors that supply products or services other than Labs or Frame, select vendor type as other.
Login Credentials for Vendors: Add username and passwords for Vendor login
Make Vendor Active or Inactive
The Active checkbox shows a vendor’s working status.
It should be checked If they are currently active.
It should be unchecked when they are no longer working for you.
Click the Save button to add the new Vendor or save the changed Data
Modify a Vendor
The Pencil Icon and Trash Icon on each line are used to edit or delete that vendor’s record.
Edit Vendor Details
Click the Pencil Icon to show a pop-up with a form filled with the existing details.
Change as desired and save.
Delete a Vendor
Click the Trash Icon to show a confirmation pop-up.
Click ok to delete.